


the above and below are AMAZING


1. Snakk Klikk
2. Pinterest (labels free for download at BHG)
3. House to Home
4. Real Simple
5. Real Simple
6. Life Work
7. Little Green Notebook
8. Pinterest

 Pretty bad huh?
 The end of each cable is labeled with the corresponding hole, i.e. " AV 1" or "Front Speaker - Left" You may find a labeling solution that works better for you based on your equipment.
 In the middle of the project - don't worry - things might look worse before they look better.
 So...being that the backing of the console was only fiber board, I traced a rectangle with a pencil and cut a much larger opening with a hacksaw. This allows easy access to the back of equipment, and provides better ventilation.
 After cleaning and wiping everything, and labeling the cords, I put all the equipment back in the cabinet, rewired everything, and utilized regular household twisty ties to bundle the cords.
  Labeled cords coming out of their respective equipment...
 Labeled cables going into the back of the TV
 The finished view from the front.
 The latest book from Apartment Therapy - "Big Book of Small, Cool Spaces," is packed with ideas for integrating technology into your decor beautifully
 Apartment Therapy headquarters.
 Techorating in action at Apartment Therapy. Cord management has become more attractive over the years with nifty helpers like these CableDrop cable clips.
 One of my favorite ideas. I didn't even know these existed - a charging station that can charge up to four phones and only one cord. It's called the Duracell myGrid.
 Instead of the outdated speakers you see above...Maxwell suggests looking into products like this ceramic Phoneofone III by Science and Sons. Your iPhone sits in the cradle at the opening and the sound is amplified. Read/see more info at Science and Sons. You'd expect this beauty to be almost $1,000, but it's actually $195 +SH.
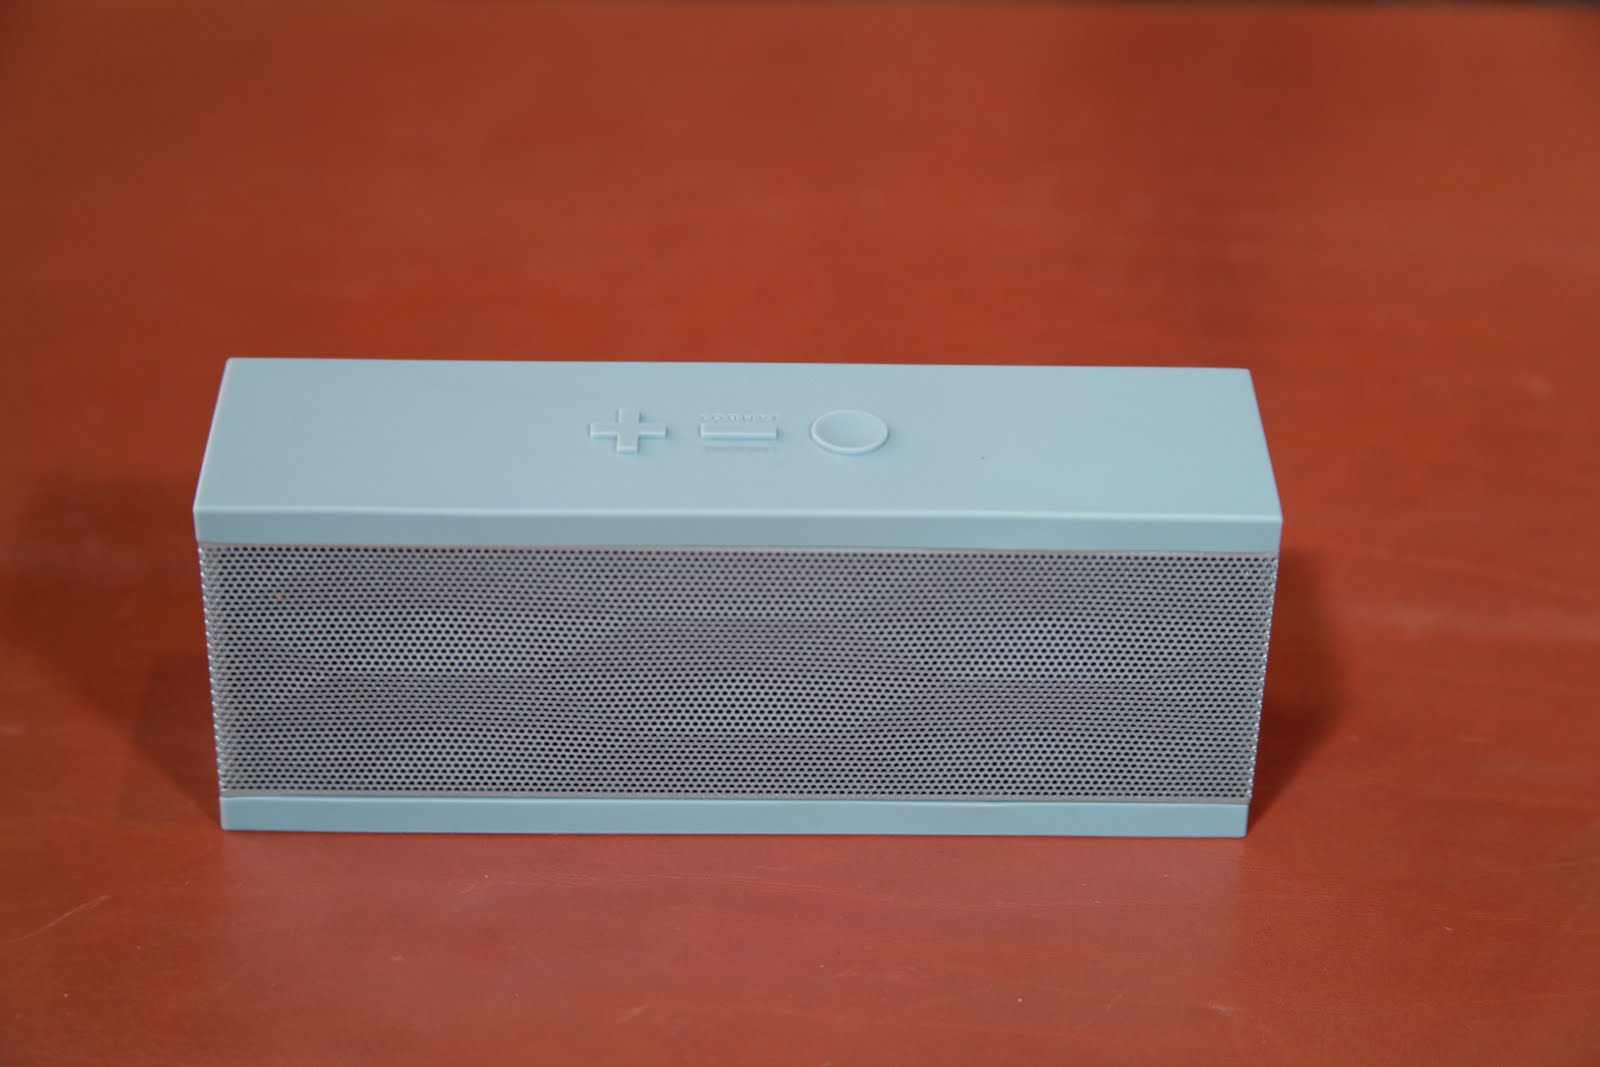


 Plan carefully and mark with a pencil if necessary where you'll place the hook. Wipe down the surface of the wall or furniture with rubbing alcohol, and allow to dry, before applying the hook.
 My results aren't particularly pretty, but much more orderly. Now I need a table skirt to hide the cords!
 The cord clips work great!
 I've wiped down the wall, marked where the board will go, and applied the hanging strips.
 I then mounted and pressed the board to the wall. Unfortunately it fell about 30 mins later. In all fairness to the strips - I made a few mistakes that I'm sure affected the results. I didn't really read the directions thoroughly, and didn't press firmly for a full 30 seconds - completely forgot to wait an hour before hanging (I'm sure this was what did me in), and I didn't apply the strips to the frame at all, but attached them to the strips on the wall. Also, this wall is actually has a plaster texture, so the surface wasn't completely smooth.
 I followed the directions to a T and it did the trick!


